I have been using my old gaming PC as a home server for about 4 months now, and having my own sandbox where I can host stuff, share on the internet, and not bother with renting a third party for it was something I really wanted to have and knew I would use a lot.
For example, some data for this very website is cached on a server in my house, but I’ll dig more into that later on…
Upgrading my old PC
My “old” PC is actually a pretty nice rig I built back in 2020 (if I remember correctly). It’s a Ryzen 3600X with a GTX 1660, some precious 24GB of RAM, but just 480GB of SSD storage.
So the single bottleneck here was the storage. I also wanted a new mATX case so the server would fit into my office rack.

After taking some measurements, I bought a C3Tech Aquarius MT-G710WH case, which I’m always very happy to see how it fits soooo perfectly.
For storage, I got a 2TB WD Red Plus hard drive. I plan to get another one in the future, but this will do for now. And since we are going shopping, I also got an AIO water cooler (the same NZXT Kraken I use on my gaming PC but in white to match the new case) to replace the AMD stock cooler and make the server quieter.
Maybe this is obvious, but building a smaller PC is quite harder! It took me at least 3× the time I spent building my current PC.
You can find the complete specs for both on my /uses page.
Setting up the OS & stuff
I researched quite a bit on the topic of “the best OS for home servers”. There are some Linux distros, free and paid, specifically for this. TrueNAS, Proxmox, Unraid…
These might make it easier to do what most people want to do with their home servers (whatever that is), but I just wanted a regular server, but at home.
For that reason, I ended up simply installing Ubuntu Server, as I didn’t want any abstraction layers on my way. On top of that, I installed Portainer to make it easier to manage Docker containers without having to SSH into the server all the time.
Ah yeah, make sure SSH is working so you can get back to your laptop and unplug the display from the server if you’re following along. You probably shouldn’t tho, this isn’t a tutorial.
Exposing the server to the internet
There is always risk when exposing something to the internet or untrusted people, so you probably want to take some steps to mitigate the risk.
Many recommend using a VPN such as Tailscale to create a tunnel that give users access to your home server outside of your network. But since I want to expose some of my projects to anyone online, this wouldn’t work for me.
A great solution I found is Pangolin. I got it running on a cheap VPS with 1 vCPU & 1GB of RAM from a local provider (important if you want low pings). Now, when users access a service running on my home server, they access it through this VPS instead of directly accessing my home network.
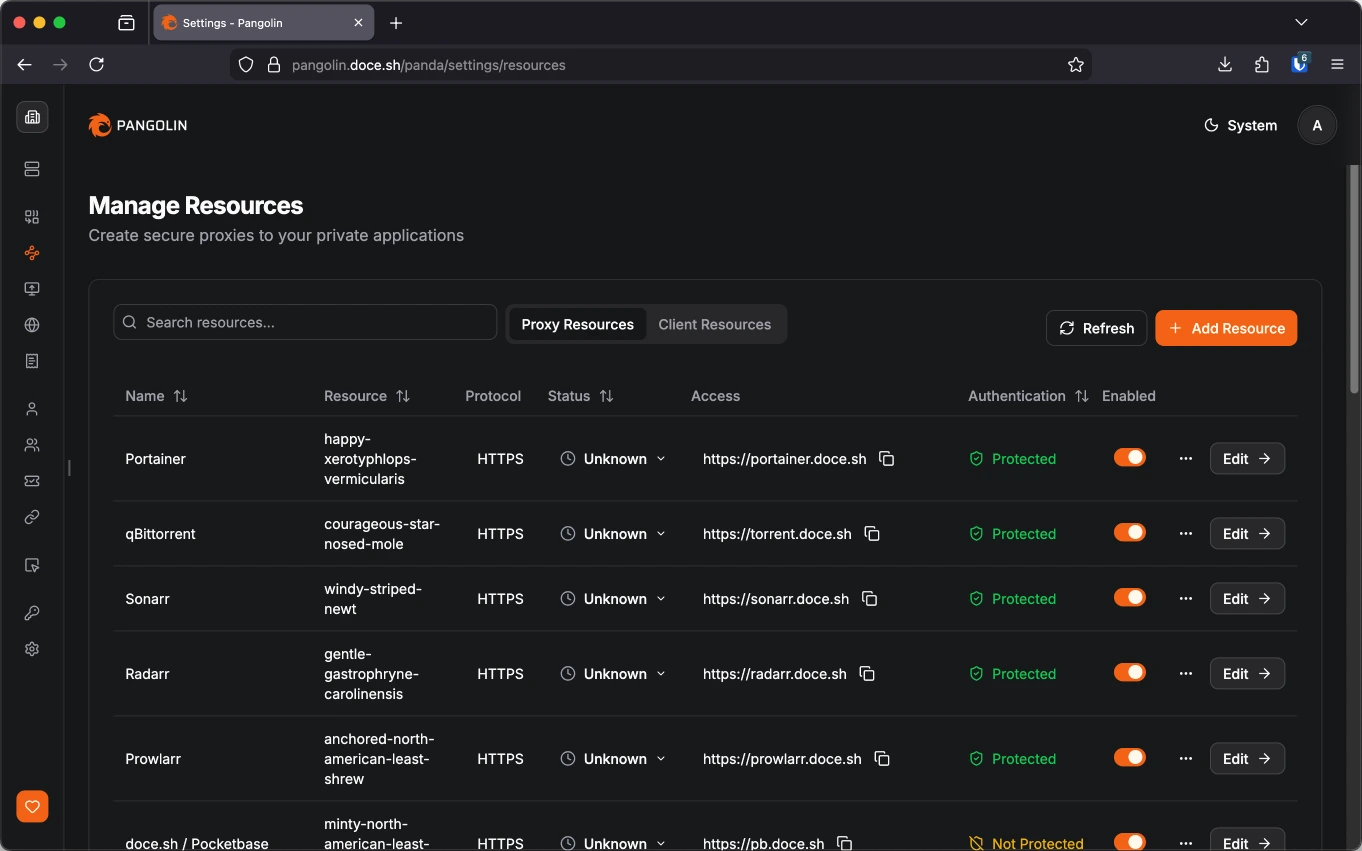
A great feature of Pangolin is to protect resources that you want to expose. While some of my things are 100% publicly accessible, such as pb.doce.sh, some aren’t. You can allow only some users/roles to access some sites, or have a single password that is needed to access a site.
This website’s backend
One of the use cases of this home server is using PocketBase to build features for this website that require a backend.
If you go to the /now page, you will see I have a section of my recently played games. This is powered by the Steam client API, which can be quite slow. The Steam client also only returns games I played in the last 2 weeks, and since I’m not a huge gamer, I will oftentimes go >2 weeks without playing anything, but I didn’t want this section to be empty.
I can now kill two birds with one stone by caching the Steam responses so I can not only load this section faster, but also have past data to display if needed.
I also decided to cache my Last.fm data, since we are already here.
Media server & seedbox
A very common use case for home servers is to use it as a media server. You can setup Jellyfin (or Plex) to help you manage your media and make it easy to watch it from different devices.
This isn’t particularly interesting to me, but since it’s one of the few applications that really benefit from the server having a discrete GPU (great for transcoding media), I decided to set it up just for fun. It wasn’t really fun, tho…
The *Arr stack
Something you will eventually figure out when setting up a media server, is that you will need a way download, sort, and organize your media. And for that there is the *Arr stack, a collection of applications that you will want to install:
Radarr for movies, Sonarr for TV shows, and Lidarr for music. You will also want Prowlarr for managing indexers (servers that track where the torrents you want are), of course. Oh, and Bazarr for subtitles…
Well, this is not an extensive list but you get the idea. You can also probably imagine how setting up and configuring each one of these can be a boring task.
I did this process twice, one manually and another by using a installation script, in this case, YAMS (Yet Another Media Server). I would definetly recommend using one of these. They don’t do all the work, but they definetly help with starting things off.
YAMS documentation is also great despite the mildly irritating, clearly AI generated, tone the writing has.
But again, this is not a tutorial, you can figure it out yourself, I believe in you!
Setting up qBittorrent
If you’re downloading stuff, you will also need a download client. If you’re using Torrent, that could be qBittorrent, Deluge, or whatever. There isn’t a lot you need to configure here, but I changed a few things to better fit my needs.
I cranked up the connection limits and the maximum active torrents and, finally putting my Gigabit internet to good use, I set the download/upload speeds to unlimited, with a ~120Mbps/~60Mbps limit during my working hours.
💡 If you’re scheduling alternative rate limits, remember to also update the timezone of your server accordingly.
2TB of storage fill up surprisingly fast when you’re downloading so many files. Since my intention is not to run a media server, but to seed, I configured qBittorrent to automatically delete the files after it reaches a ratio of 5 or after it goes 7 days without seeding.
Seeding? Ratio? WHAT-
If you’re not familiar with torrenting, these might be some confusing terms, so this might be a good time to expand a bit on those and explain why I’m even doing all that.
Sharing is caring. If there were no people hosting and uploading these files to the internet, you wouldn’t have been able to download them in the first place. So it’s a good practice to seed any torrents you download, that is, uploading the file you downloaded so others can download it too.
In general, I would say that you should upload at least the same amount of data you downloaded. For example, if you downloaded a 5.9GB Ubuntu ISO file, you should let it seed until it has uploaded at least another 5.9GB to other people (that’s something you can easily track in your download client). That would give you a ratio of 1, that is, you contributed with the same amount of data you’ve taken, it makes it even.
My goal tho is not to download files just because I want or need them, but to be able to provide them to others. But since I don’t have infinite storage nor bandwith, I decided that if I upload 5× the size of the file (a ratio of 5), or if nobody downloads it from me in a week, that’s enough for me to delete them to make room for other files.
There is also this glossary of BitTorrent terms that might be helpful if you’re still feeling lost.
Automating downloading & seeding
A very important application you will need, is one to automate the downloading of these torrents. That’s what autobrr does. And since I don’t want to build a media server, this is actually the only *Arr app I actually need.
autobrr is surprisingly easy to use, specially considering the amount of advanced features it has. It also provides a lovely documentation.
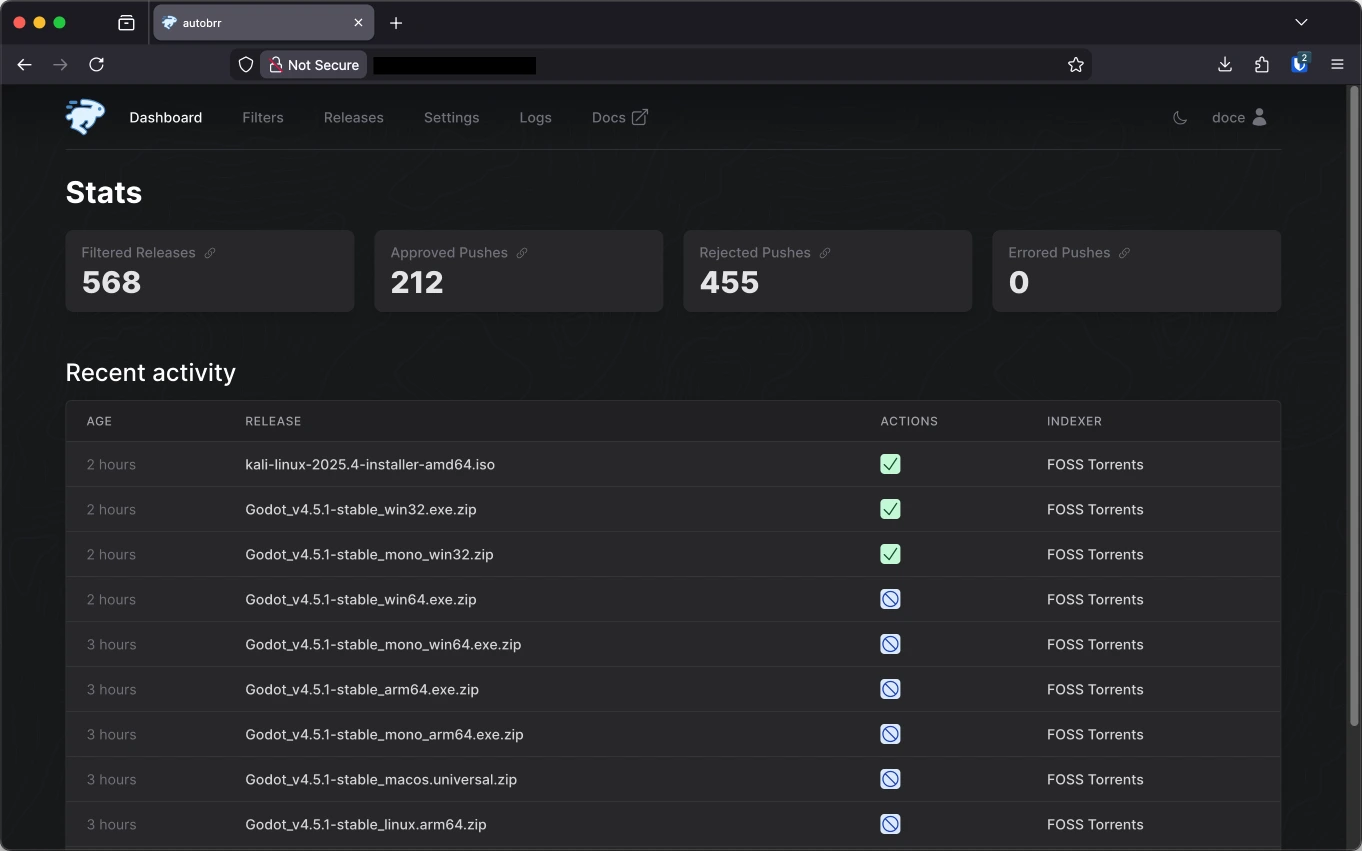
I briefly mentioned that indexers are servers that track where the torrents you want are. Those indexers usually announce when new torrents are available via RSS or IRC. Conveniently, autobrr already includes some of them so you can set them up very easily, but you can also add your own feeds.
When a new torrent is announced, autobrr will use the filters you create to know what to do with which torrents. What I did is set a single filter for all my indexers and tweak it as I saw what was happening in the logs. I suggest you to do the same. After some experimentation, what worked well for me was setting a maximum size files can have and ignore some categories of torrents.
If this filter matches a torrent, it will trigger an action that adds it to qBittorrent directly. If you’re building a media server, you might want to have different filters to send specific torrents to Radarr/Sonarr/Lidarr/*Arr instead.
This action is set to only reannounce torrents once after a second, and then delete itself if stalled. This pretty much means that if it can’t start downloading right away, it will just give up.
When a torrent file is released, quite a few people will begin auto downloading it just like us. If we can download it first, we can also start seeding it right away, including to others trying to do the same. This is called “racing”, and what I figured is that if you “lose” this race, it will take a lot longer to seed enough to rebuild your ratio.
This isn’t necessarily a problem, as you can definetly build your ratio off seeding on the long run. It’s just something I found out and am currently experimenting with.
Where to download stuff from
At this point you already know what indexers are (I hope) and might be asking yourself what indexers to download your torrents from. I don’t think there is an easy answer for that. There are a bunch of public and private trackers alike, and for different purposes.
Some great ones to start are probably FOSS Torrents and the Internet Archive, but I’m not affiliated to them, and I can’t guarantee your safety as you download files from the internet, of course. Always do your due diligence.
Things get even trickier if you’re trying to find trackers for building your media server catalogue, as you might be entering the scary piracy zone, or find yourself wanting to join a private tracker.
💡 Did you know? In Brazil, piracy is only a crime when you profit from it (source). But I’m not a lawyer, and for all intents and purposes, I’m only downloading and distributing content I’m legally allowed to, such as Linux distro images.
Private trackers are interesting. They usually require some proof that you are already contributing to other trackers. That’s why many people try to build high ratios, so they build reputation.
Not me tho, I’m doing it for the love of the game.
Wait, do I need a VPN…?
Oh you did all that without asking yourself if you needed a VPN? Well, whenever you torrent your IP is public to anyone else downloading/uploading that data from/to you. If that scares you, I would recommend using a VPN.
I don’t have an affiliate link, but that would be a great segue way.
Setting up the VPN was the most complicated part for me. YAMS already includes Gluetun (a VPN client) that works with pretty much any VPN provider. The puzzling part was setting it up to use Wireguard instead of OpenVPN, because that’s what Mullvad works with, and that’s what I use. If you read the Gluetun guide for Mullvad (actually read it tho, not just the TLDR) you should be fine.
Also, when qBittorrent is running behind the Gluetun network, you might notice there is no local IP address to its container nor it has published ports. So when you set it up as your download client on any *Arr apps, instead of setting the host to something like http://qbittorrent:8081, you need to use the IP from the Gluetun container instead! For me, that would be http://172.60.0.18:8081, but your IP and port may change depending on your Docker configuration.
Some other use cases
I expanded so much on the seedbox part of things, because that’s the most recent thing I did, but you can do so much more with your own home server! Do you even remember this post was about servers in general and not only seedboxes?
Anyways… when you have a home server, anything that you can self-host, you will want to self-host. And what can’t be self-hosted, you will start looking for alternatives that can, because why are you using an app that is not free, open-source, and self-hosteable in the first place?
A place I used to find some a lot of interesting self-hosting options is PikaPods. I have used their hosting services before, but now they serve me the great purpose of being a directory of great apps to discover.
I also just found out about an actual directory of self-hosteable apps called selfh.st, which looks interesting.
Minecraft server
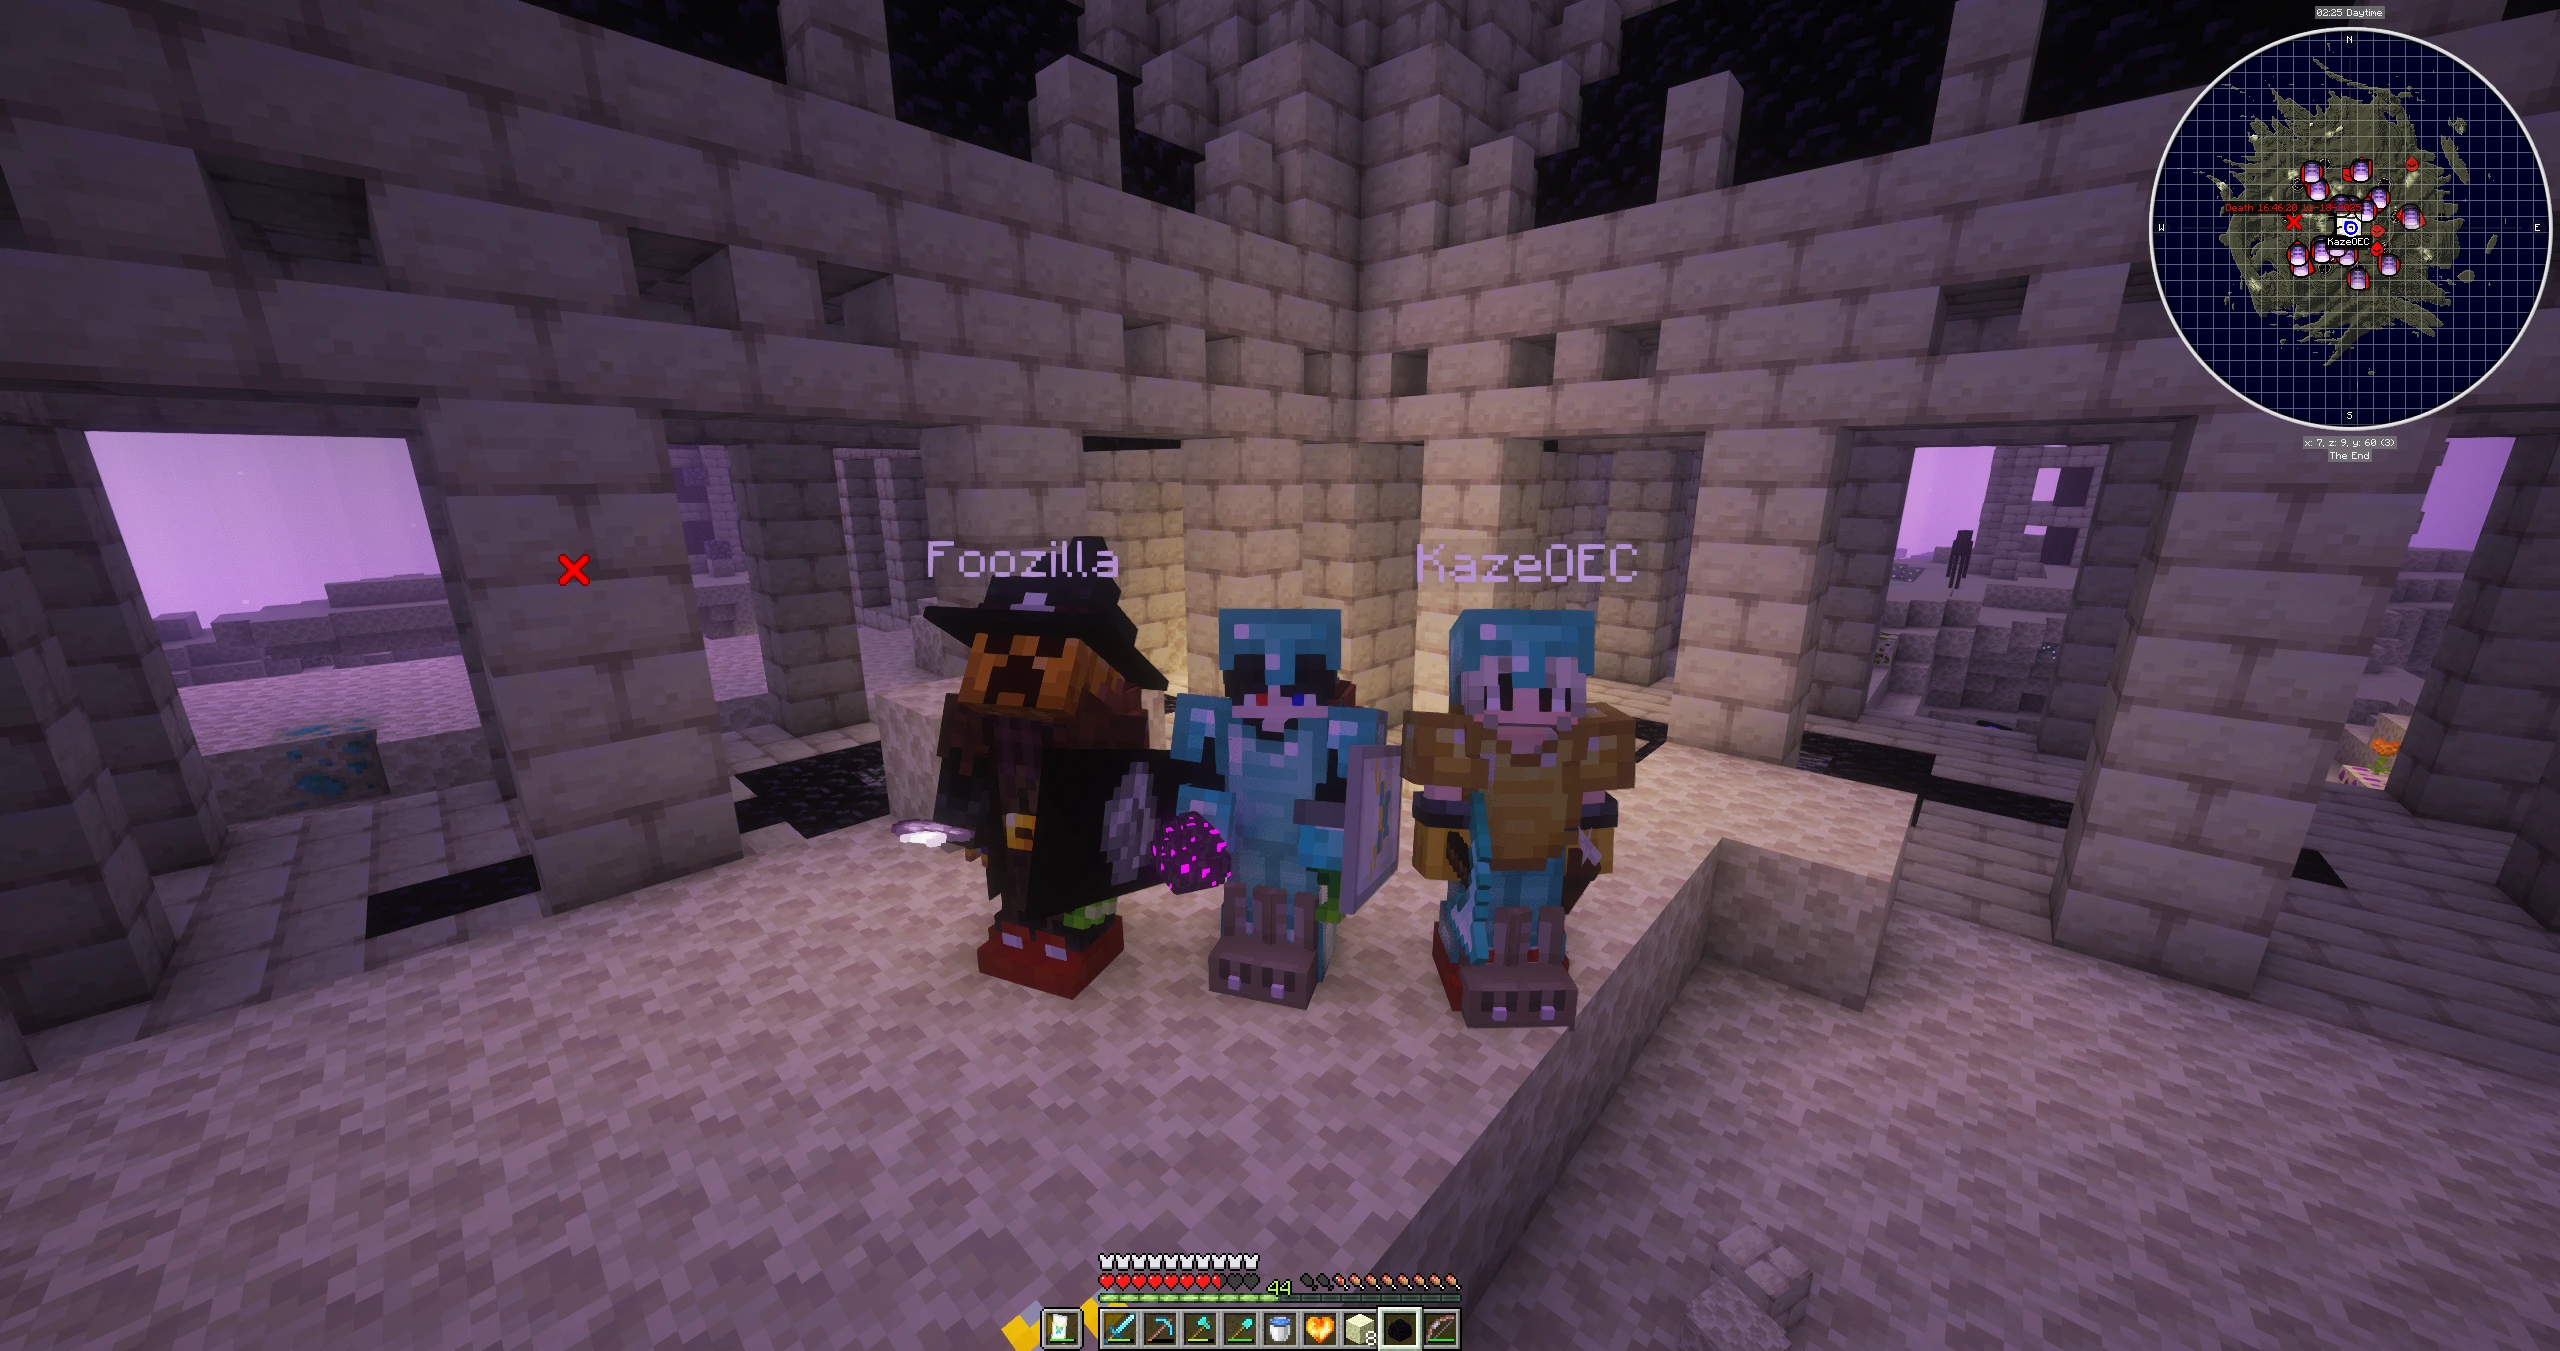
Really, what is a better usage of your very own home server if not running game servers? Recently, me and some friends enjoyed our canonical 2-week Minecraft phase playing the All the Mods 10 modpack.
If you wanna go a step further, you could install Pterodactyl. It will provide you with a panel for hosting game servers in general. I never used it myself, but have heard great things about it. It’s also a great way to discover what games support private servers.
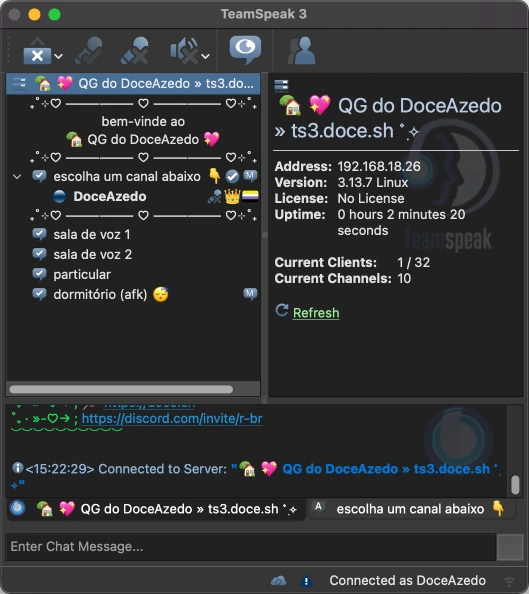
TS3 server
You will not be able to convince your friends to move from Discord to TeamSpeak 3, but it’s a great fallback for when Discord is down still.
Ollama
If that tickles your fancy, another thing that benefits from running on a server with a discrete GPU is Ollama. You can pair it with a web UI such as Open WebUI or use its API to build your projects with a self-hosted LLM.
Happy holidays! 🎄💖
That’s all from me. Please let me know if you want to know any specifics on my home server. I hope you enjoy the jolly season and, again, sharing is caring!
Have a good one!